
How to Add a Manager to Your Facebook Page
Adding a manager to your Facebook Page lets you share responsibilities and streamline page management. Follow these clear, step-by-step instructions, referencing the numbered arrows in each image for guidance.
Step by step instructions
-
Click your profile icon in the top right of Facebook (arrow 1).
-
In the dropdown, select your Page profile (arrow 2) to switch from your personal account to your Page.
-
Once on your Page, confirm the Page name is correct in the left sidebar and click it if needed (arrow 3).
-
In the left sidebar, scroll down and click Settings (arrow 4).

-
In the Settings & privacy menu, scroll down and select Page setup in the left menu (arrow 5).
-
In the main panel, click Page access (arrow 6). This section lets you manage who can help with your Page.

-
In the Manage and view access section, click Add New (arrow 7).
-
A pop-up will appear explaining Facebook access. Click Next (arrow 8).
-
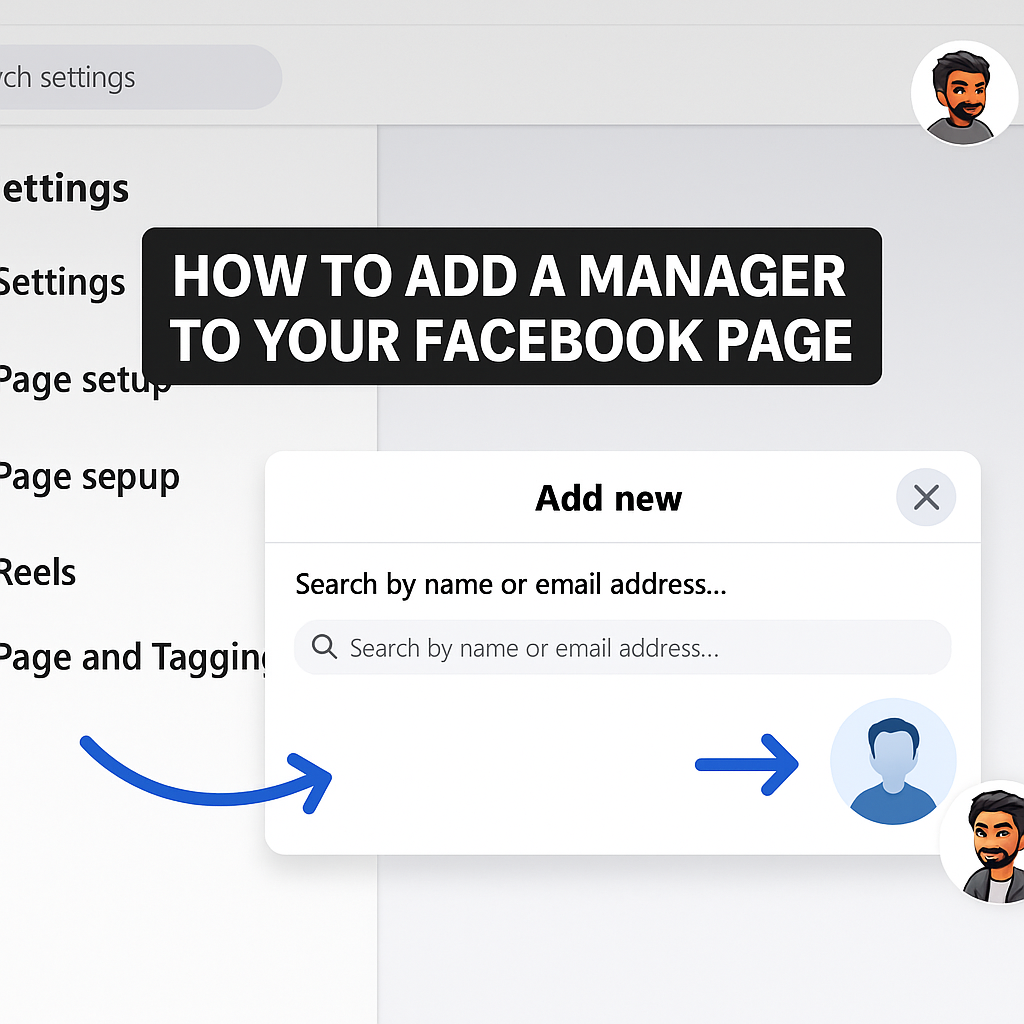
In the next pop-up, type the name or email address of the person you want to add in the search field (arrow 9).
-
Follow the prompts to assign the appropriate access level and send the invitation.

-
The invited manager will need to accept the invitation before they can manage your Page.
-
Review your Page access list regularly to keep your team up to date.
By following these steps and referencing the arrows in each image, you can quickly and safely add a manager to your Facebook Page.
Ready to grow your team?
If you found this guide helpful, join our WWM Discord community for instant support, networking, and more step-by-step tutorials. Need hands-on help? Reach out today and let Wandering Webmaster make managing your online presence easy!